Getting Started with Ledger Live: A Complete Beginner’s Guide
Cryptocurrencies are becoming a significant part of personal finance, and securing your digital assets is more important than ever. If you're new to crypto or just bought a Ledger hardware wallet, your first step is to set it up properly using Ledger Live — Ledger's official app for managing your crypto safely.
This article provides a complete, easy-to-understand guide to getting started with Ledger Live, covering what it is, why it matters, how to set it up, and how to use it effectively.
What Is Ledger Live?
Ledger Live is the official desktop and mobile application developed by Ledger, designed to work with Ledger hardware wallets like the Ledger Nano S Plus, Nano X, and Ledger Stax. It acts as the control center for your wallet, allowing you to:
- Set up and manage your hardware wallet
- View your crypto balances and portfolio
- Send and receive cryptocurrencies
- Stake crypto assets and earn rewards
- Manage NFTs
- Access decentralized apps (dApps) securely
Ledger Live is available on Windows, macOS, Linux, and mobile devices (iOS and Android).
What makes Ledger Live unique is that your private keys never leave your Ledger device. The app simply acts as a secure interface — all sensitive operations are confirmed manually on the hardware wallet itself.
Step 1: Buy Your Ledger Hardware Wallet
To start using Ledger Live, you’ll need a Ledger hardware wallet. You can buy one from the official Ledger website at www.ledger.com or from a trusted retailer. Be sure to purchase only sealed, original devices — never buy second-hand hardware wallets, as they may be compromised.
Popular models include:
- Ledger Nano S Plus – Affordable and supports most crypto assets.
- Ledger Nano X – Bluetooth-enabled and great for mobile use.
- Ledger Stax – A premium touch-screen model for advanced users.
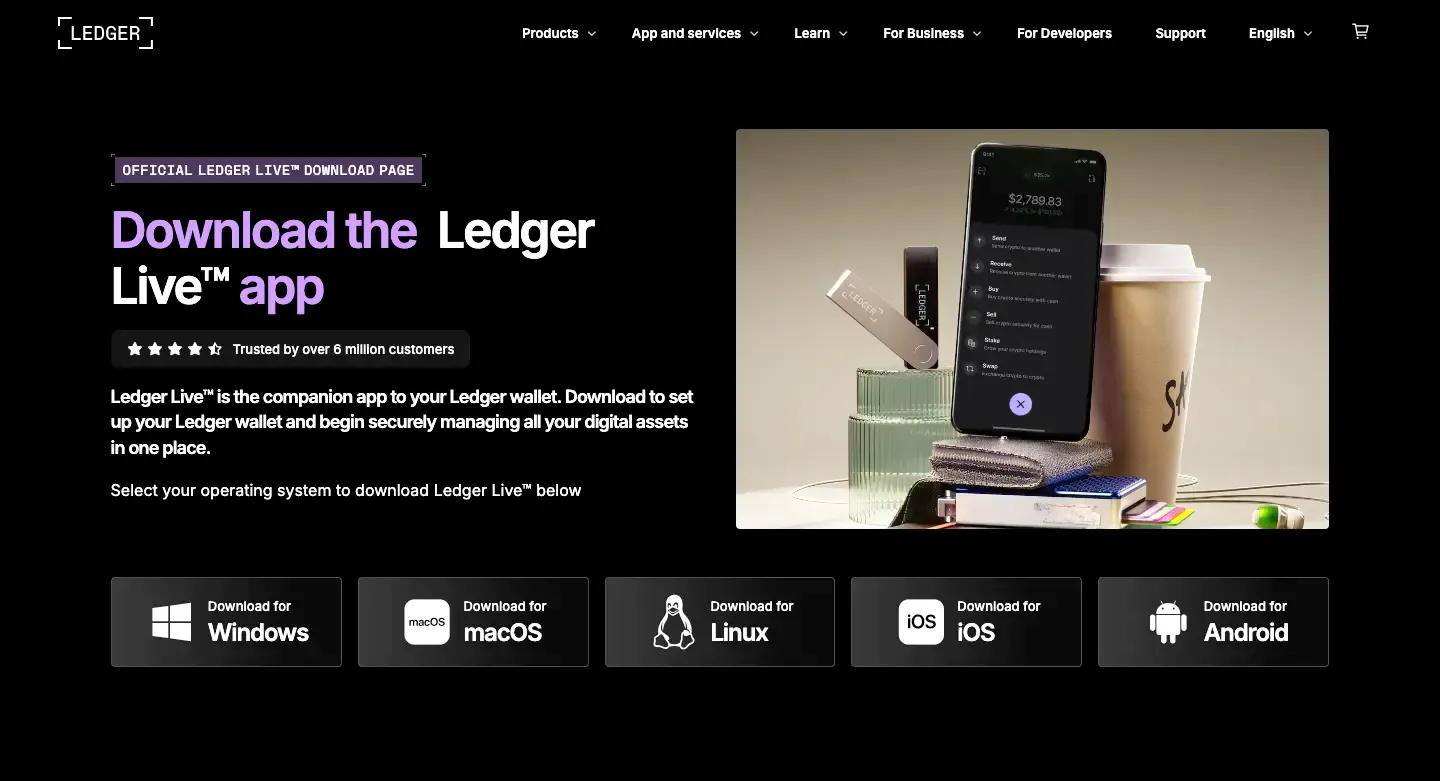
Step 2: Download Ledger Live
Once you have your device, go to the official Ledger start page: 👉 https://www.ledger.com/start
From there:
- Choose your device model (e.g., Ledger Nano S Plus)
- Download the correct version of Ledger Live for your operating system (Windows, macOS, Linux, iOS, or Android)
- Install and open the application
Important: Always download Ledger Live directly from Ledger’s official website to avoid fake apps or phishing scams.
Step 3: Set Up Your Ledger Device
When you launch Ledger Live for the first time, the app will guide you through setting up your device. You’ll be asked to:
- Create a PIN code on your Ledger device (choose a secure code that only you know)
- Write down your 24-word recovery phrase
- This phrase is your only backup if your device is lost or damaged.
- Never store it digitally or share it with anyone.
- Ledger will never ask for it.
If you already have a recovery phrase, you can restore your crypto wallet using those 24 words on your new Ledger device.
Step 4: Pair Your Device with Ledger Live
After setup:
- Connect your Ledger device to your computer or smartphone using USB (or Bluetooth for Nano X).
- Ledger Live will detect the device and prompt you to verify it.
- You can now access the dashboard where you’ll install crypto apps and manage accounts.
Step 5: Install Apps for Each Cryptocurrency
Each supported cryptocurrency requires a specific app on your Ledger device. For example:
- To store Bitcoin, install the Bitcoin app
- For Ethereum, install the Ethereum app
You can install or uninstall these apps easily through Ledger Live using the “Manager” tab.
Note: Apps are small and don’t hold your funds — they simply allow your device to communicate with different blockchains.
Step 6: Add Accounts and Manage Crypto
Now that your apps are installed, you can add crypto accounts in Ledger Live. This allows you to:
- View account balances
- Send and receive crypto
- Monitor transaction history
When you receive funds, Ledger Live gives you a secure wallet address linked to your device. When sending crypto, you must physically confirm the transaction on your Ledger device — preventing unauthorized access.
Step 7: Explore Additional Features
Ledger Live is more than just a wallet viewer. It also includes:
- Portfolio tracking: View your total holdings and their performance over time.
- Staking: Earn rewards by staking supported assets like ETH, XTZ, and DOT.
- NFT management: View and manage Ethereum-based NFTs safely.
- Discover tab: Access DeFi apps like Uniswap or Lido without exposing your keys.
- Buy/sell/swap: Use trusted third-party integrations directly within the app.
Everything is done securely, with your private keys protected by your Ledger hardware device.
Tips for Staying Secure
- Never share your recovery phrase — online or offline.
- Only use Ledger Live downloaded from the official site.
- Confirm all actions on your Ledger device’s screen before approving.
- Keep your device firmware and Ledger Live app updated regularly.
Final Thoughts
Getting started with Ledger Live is one of the best steps you can take to secure your crypto journey. Whether you're holding Bitcoin for the long term or exploring DeFi and NFTs, Ledger Live offers a user-friendly and secure interface to manage it all — while your private keys stay safely offline on your Ledger device.
By following the setup process carefully and sticking to best practices, you'll be in full control of your digital assets — with world-class security and peace of mind.
Made in Typedream